How To Create A Typewriter Effect In React
6th Sep 2022

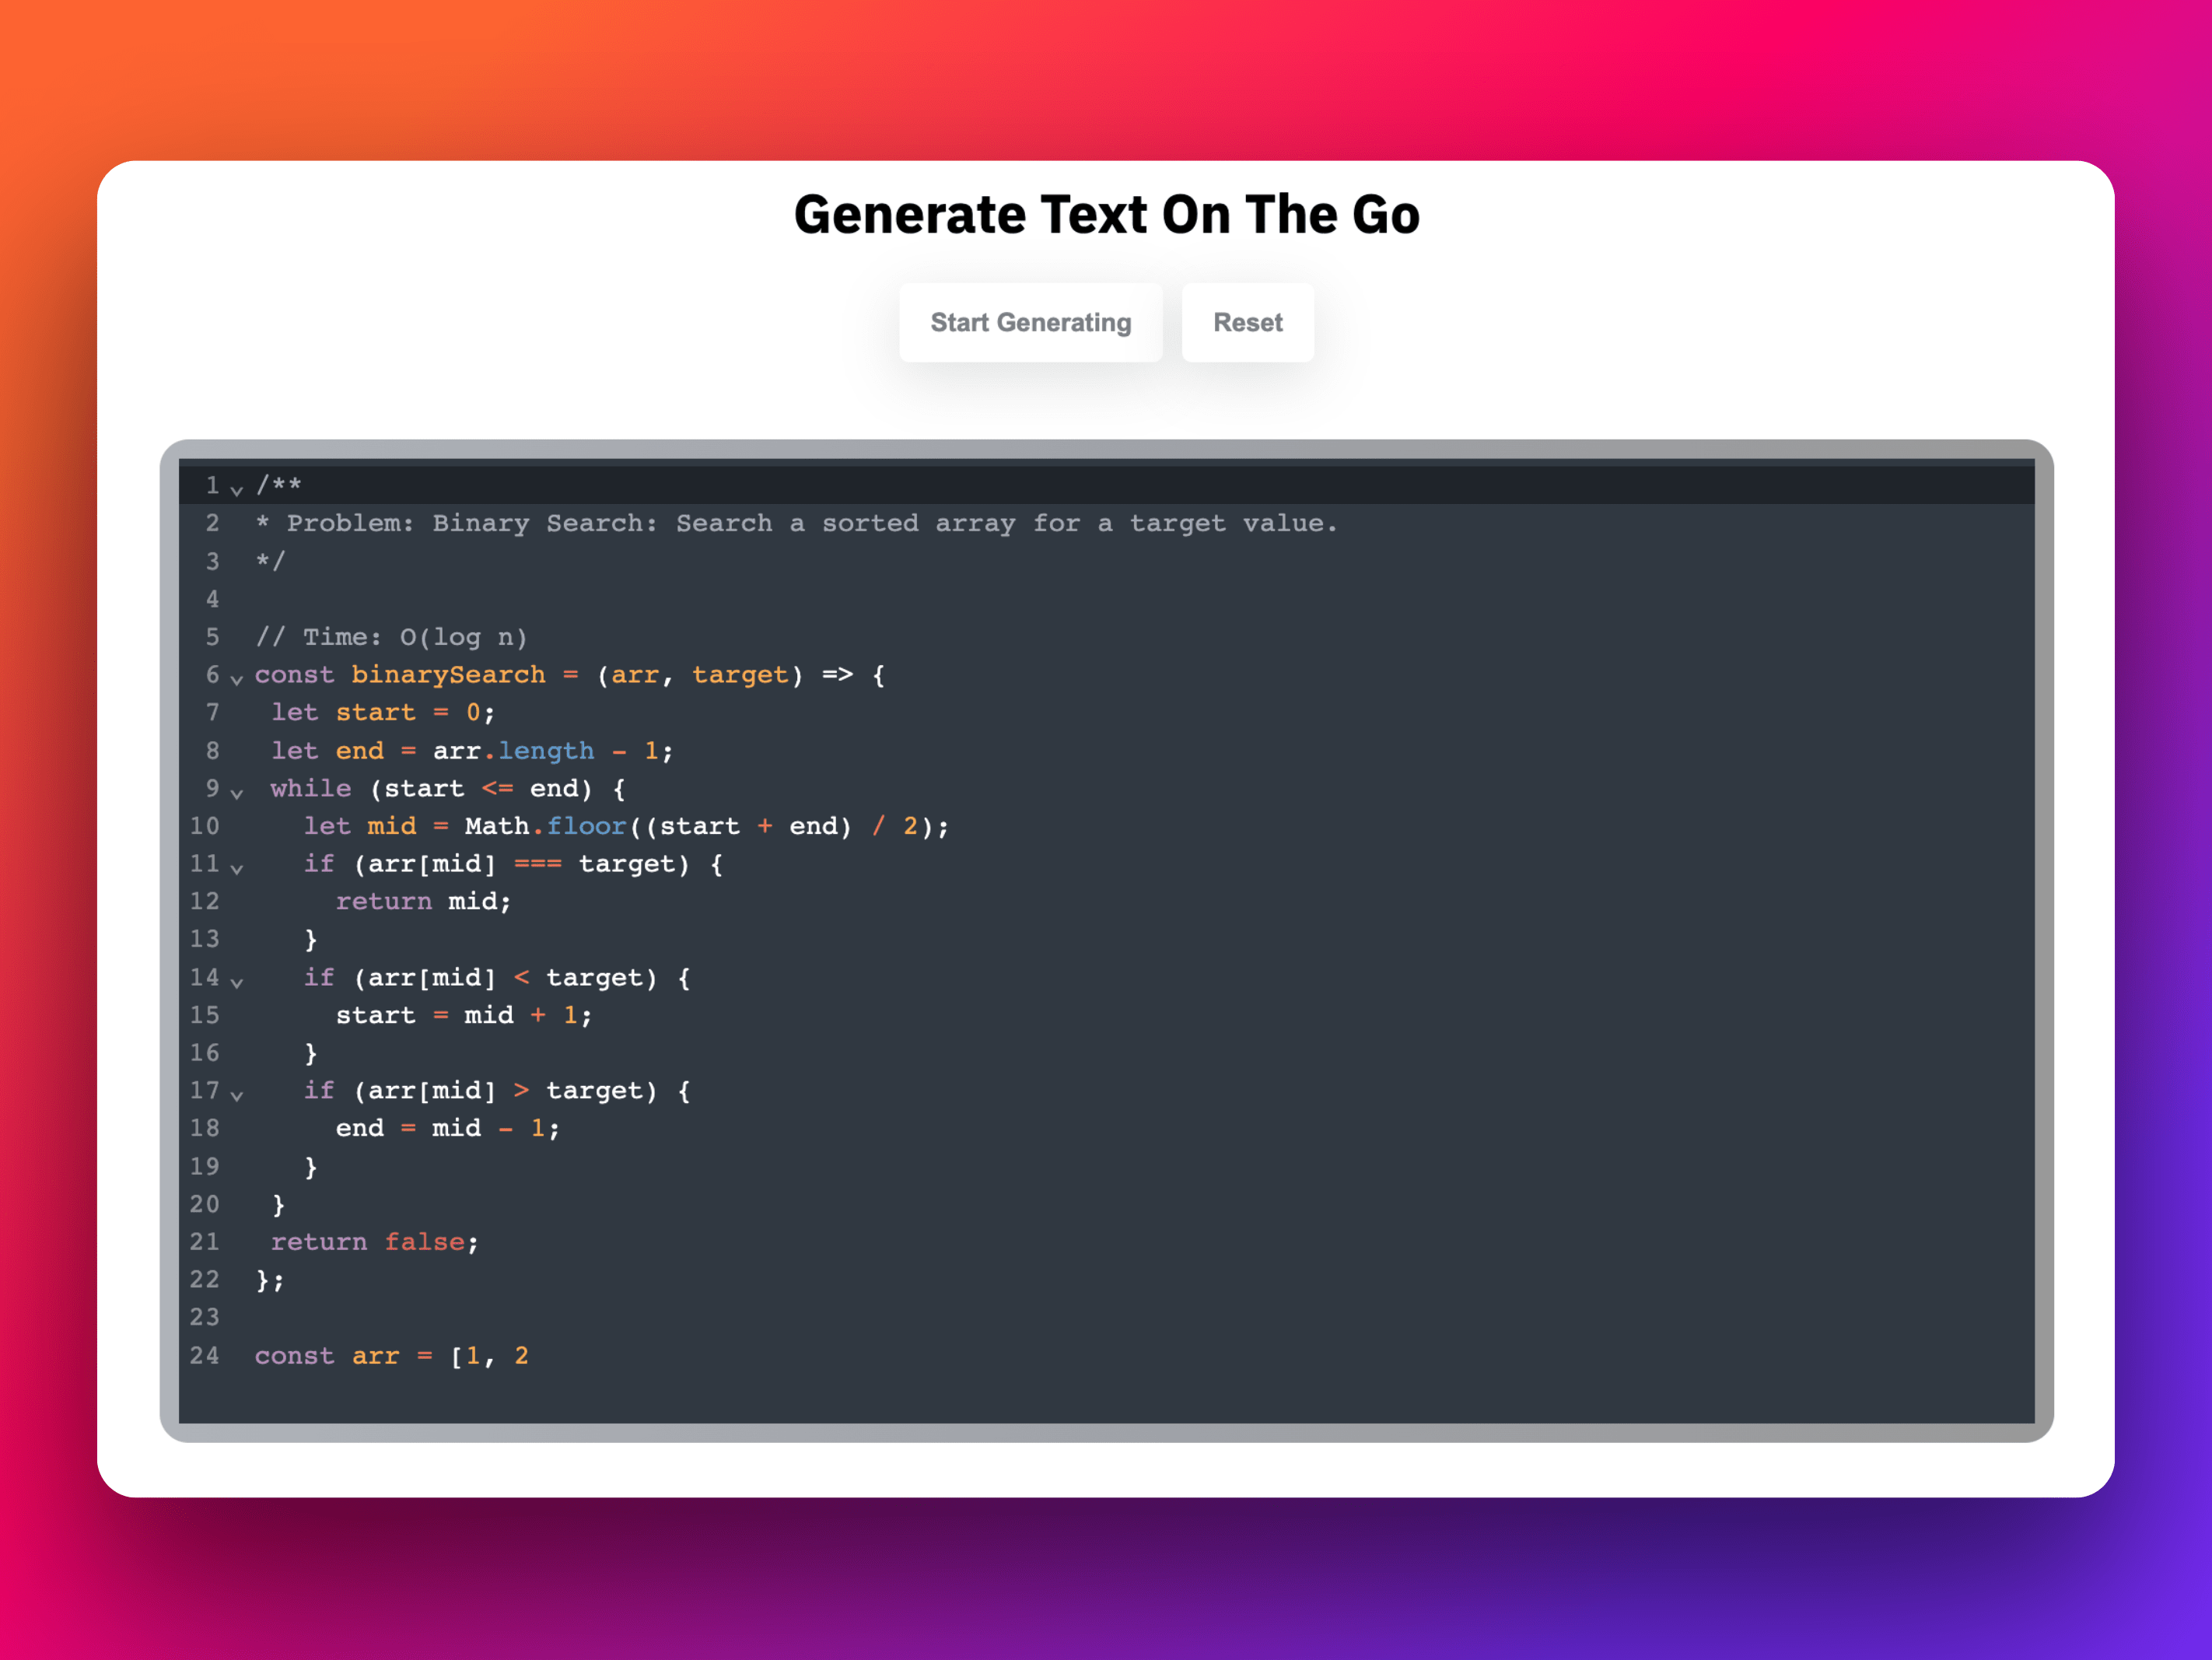
You must have come across website like Algochurn (self-promotion is an absolute necessity) that use a technique to render text on a DOM element, seemingly the text appears to be generating on the go.
This is a good Technical Interview Question that are being asked in big tech companies that are hiring for Front-end web developers.
This means that the text keeps on creating until the text has exhausted and comes to a halt.
This technique can be a great visual effect where the end user can get an idea what the website represents and what THEY can expect from the same.
Today, we are going to discuss and code the same effect. Here's is a working stackblitz demo of the effect.
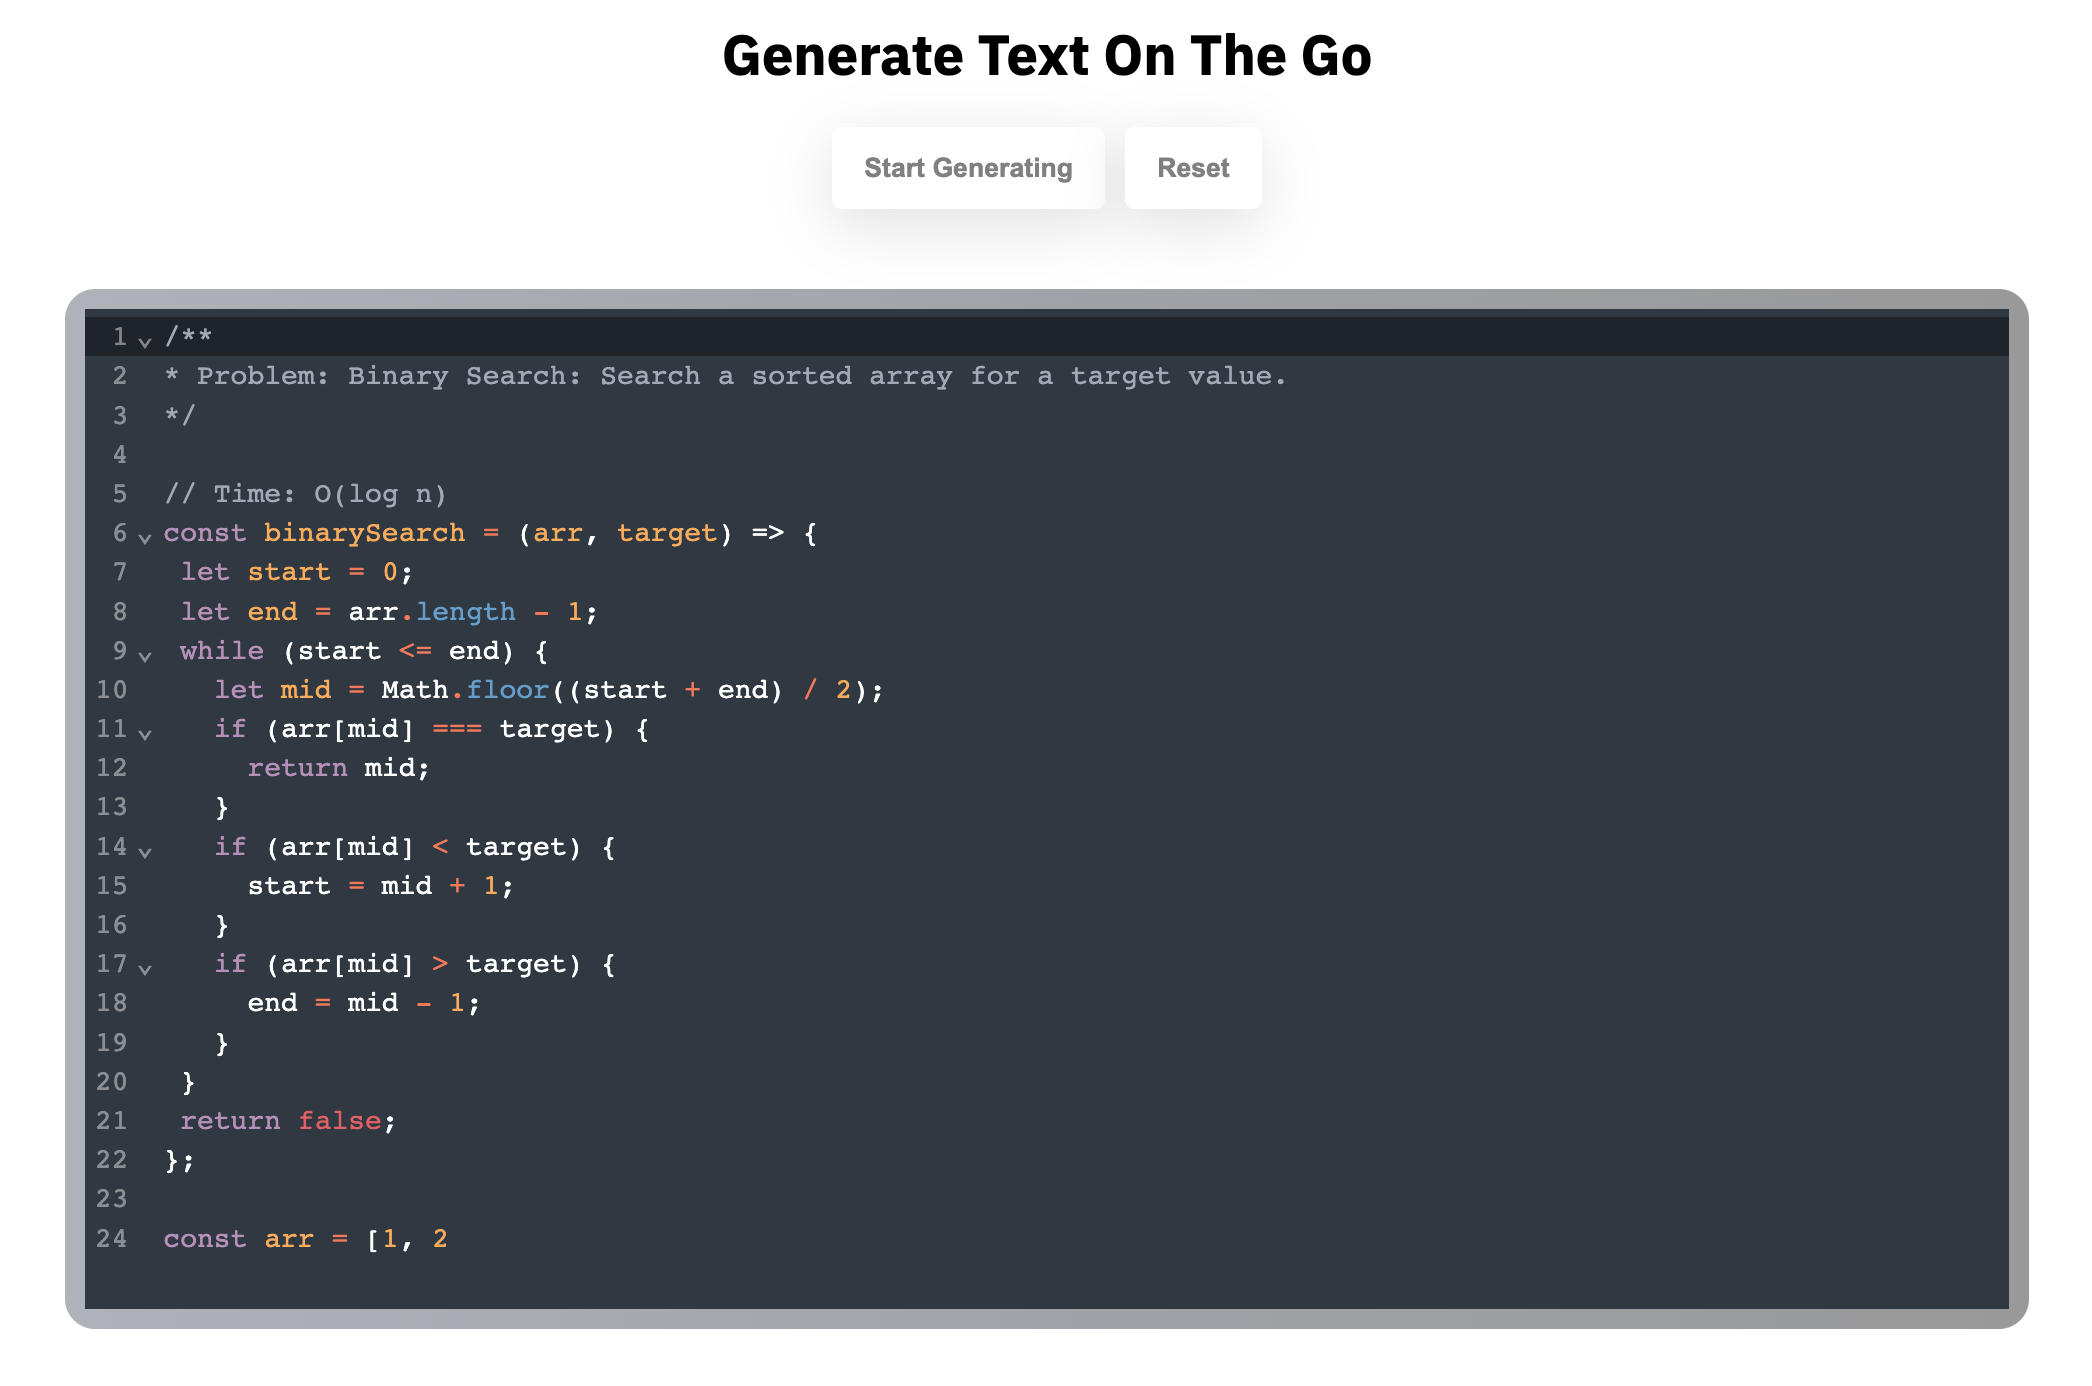
Once you click on Start Generating - The effects starts and creates the text. If Reset button is clicked, the effect resets back to its original state.
Code Walkthrough
Let's look at each of the following parts of the code.
- Creating the code editor window (The codemirror snippet)
- Creating states
- Controlling state value
- Implementing buttons
The Codemirror Snippet
// TextGenerate.tsx
import React, { useEffect, useState } from 'react';
import styles from './styles.module.css';
import CodeMirror from '@uiw/react-codemirror';
import { javascript } from '@codemirror/lang-javascript';
import { sublime } from '@uiw/codemirror-theme-sublime';
import { staticCode } from '../TextGenerate/sampleCode';
export default function TextGenerate() {
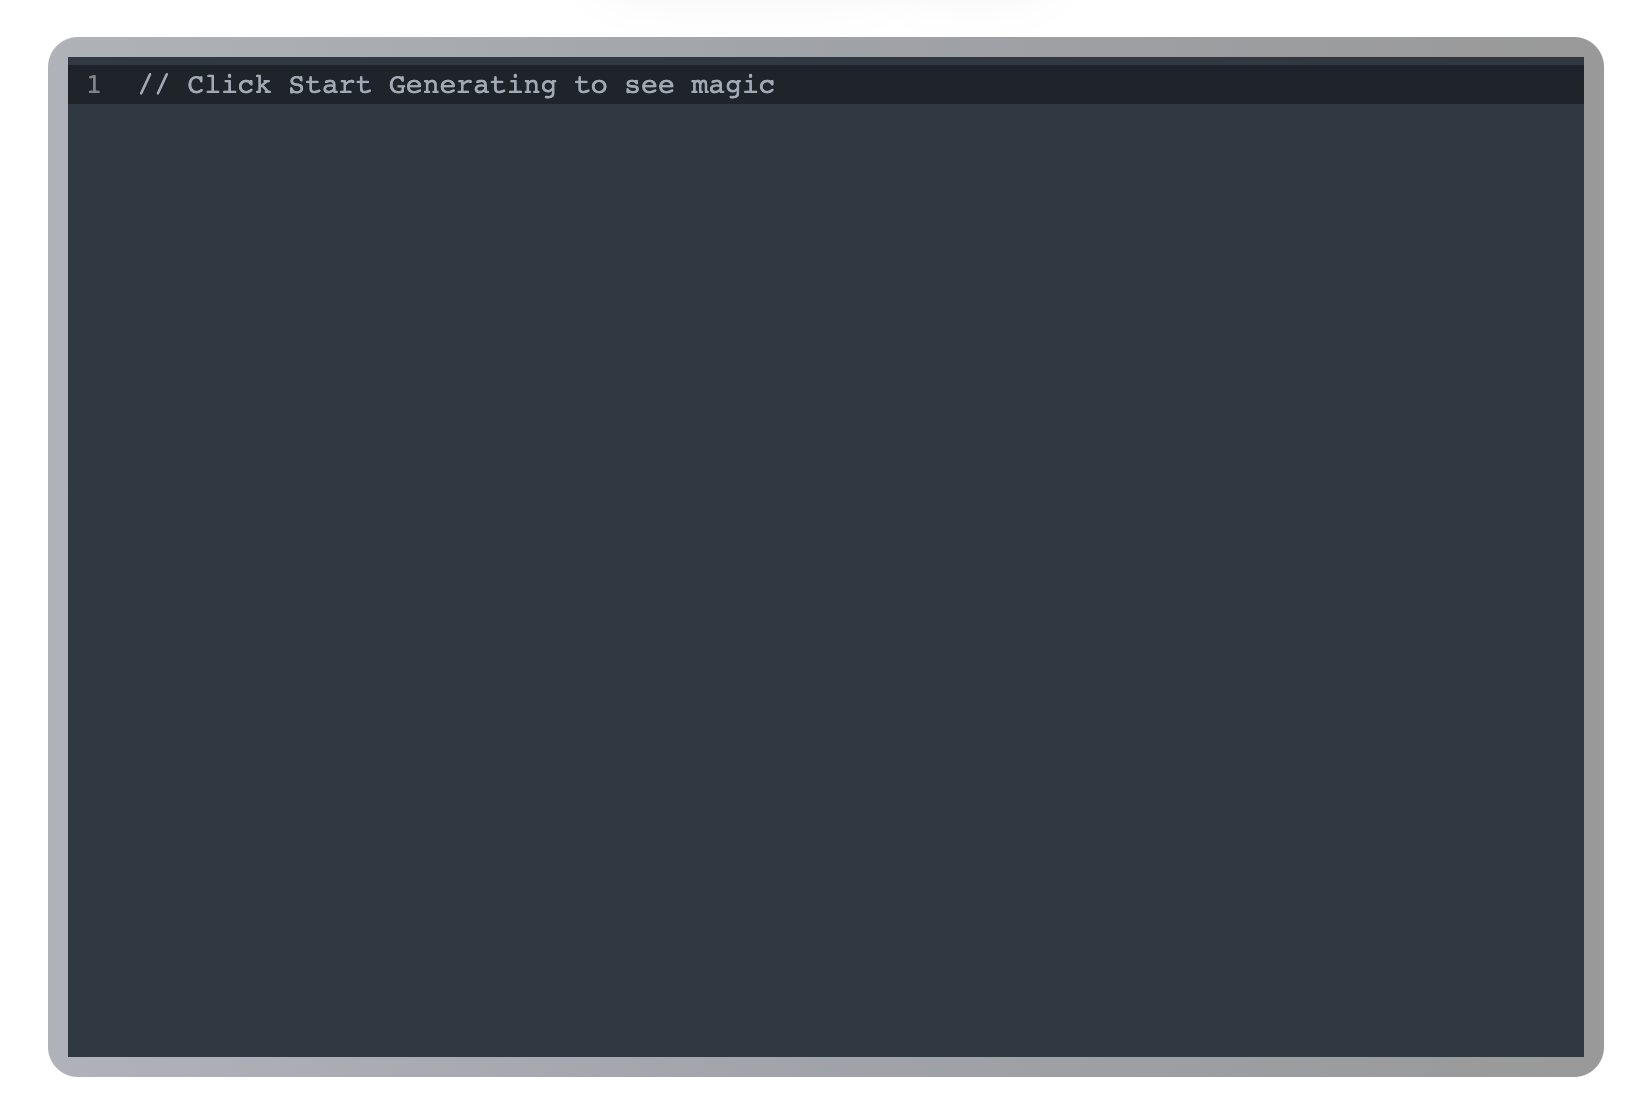
const [code, setCode] = useState('// Click Start Generating to see magic');
return (
<React.Fragment>
<div className={styles.buttonsContainer}>
<button onClick={handleGenerate} className={styles.button}>
Start Generating
</button>
<button onClick={handleReset} className={styles.button}>
Reset
</button>
</div>
<div className={styles.container}>
<CodeMirror
value={code}
height="500px"
className={styles.codeMirror}
extensions={[javascript({ jsx: true })]}
onChange={onChange}
theme={sublime}
/>
</div>
</React.Fragment>
);
}
Here, we have a simple codemirror window is nothing but a package which allows to easily integrate code snippets with support to many different languages.
It takes in a bunch of props:
value: The state value which goes inside of the CodeMirror component.className: External classes that you might want to pass.Theme: Passing down the sublime theme as a prop.entensions: The languages you might want to support.
It is wrapped in a component to make it a little more presentable.
Creating states
const [code, setCode] = useState('// Click Start Generating to see magic');
We create a state variabled called code which is passed as a prop to the CodeMirror component. This is the actual value which gets displayed on the TextGenerator component.
This is also the state that we are going to modify / mutate in order to generate text on the go.
Controlling state value - The meaty part
This is the most important piece of the puzzle. We are going to create an interval using setInterval() to loop through a string of staticCode which has all the code written inside of it that needs to be printed.
export default function TextGenerator() {
    ...
    ...

    ...
    const startCreating = () => {
    let data = staticCode.split('');
    let i = 0;
    let generatedCode = '';

    timer = setInterval(() => {
      if (i === data.length - 1) clearInterval(timer);
      generatedCode = generatedCode + data[i];
      i++;
      setCode(generatedCode);
    }, 10);
  };

  const handleGenerate = () => {
    setStarted(true);
  };
  const handleReset = () => {
    setCode('//  Click Start Generating to see magic');
    clearInterval(timer);
    setStarted(false);
  };

  useEffect(() => {
    console.log('started', started);
    if (started) {
      console.log('called ');
      startCreating();
    }

    return () => {
      clearInterval(timer);
    };
  }, [started]);
  ...
  ...

   return (
    <React.Fragment>
      <div className={styles.buttonsContainer}>
        <button onClick={handleGenerate} className={styles.button}>
          Start Generating
        </button>
        <button onClick={handleReset} className={styles.button}>
          Reset
        </button>
      </div>
      <div className={styles.container}>
        <CodeMirror
          value={code}
          height="500px"
          className={styles.codeMirror}
          extensions={[javascript({ jsx: true })]}
          onChange={onChange}
          theme={sublime}
        />
      </div>
    </React.Fragment>
  );
}
The startCreating() method takes care of the generation part. The idea of this is simple.
- Take the code string (That we need to output one character at a time) and start looping through it (Since string can be iterated over like an array, we don't need to split it) using a
setInterval()method. - Create a global
timervariable and assign asetInterval()function to it. The function inside ofsetInterval()takes care of appending 1 character at a time to thecodestate variable that we created earlier.
timer = setInterval(() => {
    if (i === staticCode.length - 1) clearInterval(timer);
    generatedCode = generatedCode + staticCode[i];
    i++;
    setCode(generatedCode);
}, 10);
- The
generatedCodeis the appended text that we keep on appending more values to. - This comes to a hault when we reach the end of the string, at that point, we simply
clearInterval(timer)to stop the code from looping.
And this is it, that takes care of the code generation part. If you console.log() and see the results, every 100 milliseconds a new character gets added to the generatedString which gets set into the code state value.
Implementins Buttons
This is probably the easiest part of this application. We have got 2 buttons.
- Start Creating:
handleGenerate()is called - Reset:
handleReset()is called.
  const [started, setStarted] = useState(false);
  useEffect(() => {
    if (started) {
      startCreating();
    }

    return () => {
      clearInterval(timer);
    };
  }, [started]);
  const handleGenerate = () => {
    setStarted(true);
  };
  const handleReset = () => {
    setCode('//  Click Start Generating to see magic');
    clearInterval(timer);
    setStarted(false);
  };
Here, we also initialize a boolean state called started because we don't want the generate text effect to run again and again if the user clicks on the button multiple times.
Since we have the code for startCreating() inside of a useEffect() which will get triggered ONLY if the started state changes, this keeps the user from running the effect multiple WITHOUT clicking reset.
For handleGenerate(), we are simply setting the code state value to a placeholder default text and clearInterval(timer) so that we don't run into any issues - removing the already running animation / effect.
Finally, we set the started value to false so that the user can now start the animation again if they want.
Conclusion
This was a fun little challenge and a Technical Interview Question that gets asked in many different organizations and companies hiring for Front-end Software Engineers.
If you'd like to practice this problem, visit Typewriter Effect.